I’m not travelling to teach
during the month of February, so I’m taking that time to offer some “mini”
workshops for very modest (bargain-basement even!) fees. Since I’ve been playing lately with some
knitting ideas, most of these workshops are about knitting. The first two, however, also include
spinning.
If you are interested in
attending, contact me by email, atyler@centurytel.net,
or by phone, 231-640-4424.
All mini workshops are at my
house in Lake Ann , Michigan
Wednesday,
February 6, 2013
1:00 –
3:00pm
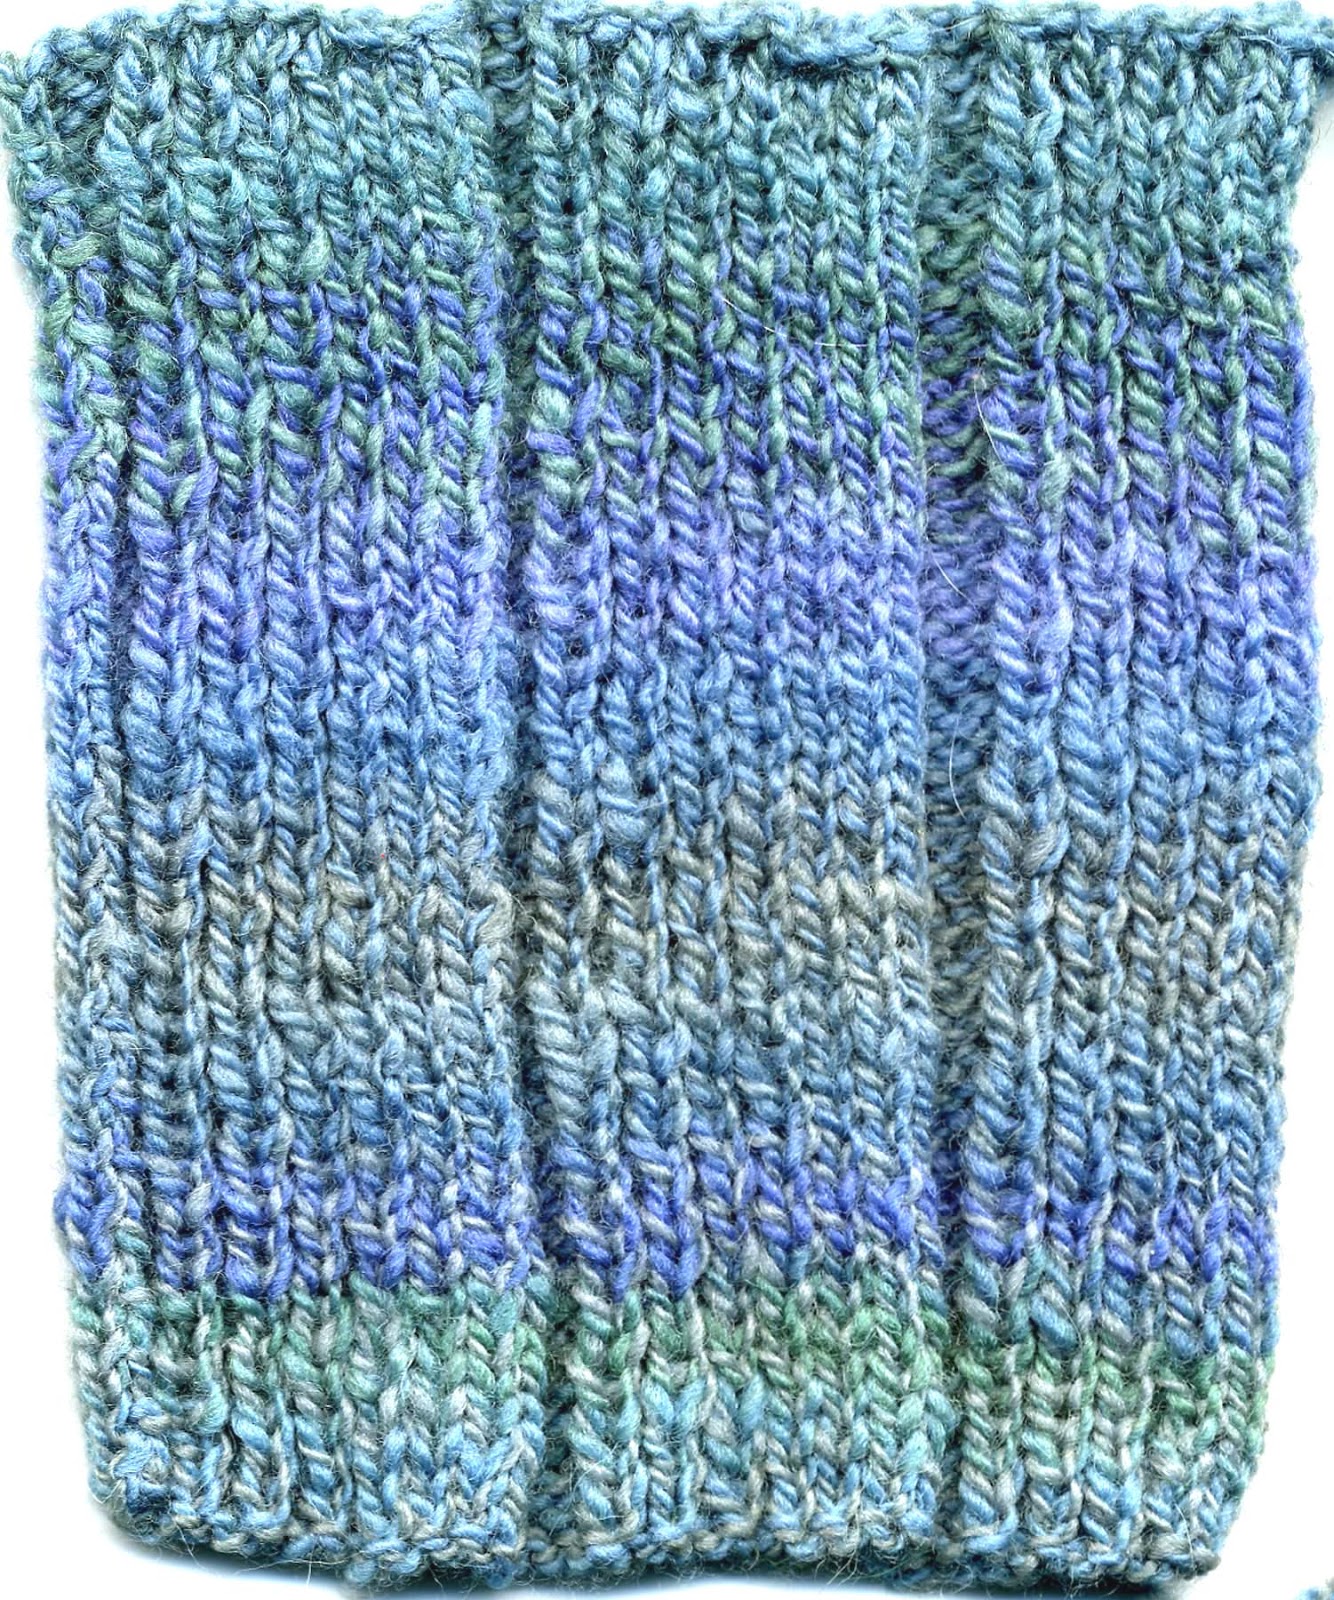
Spinning & Knitting Energized Singles,
Part 1: Yarns that are not “balanced” can create
biasing fabric when knitted. In this
mini workshop we will explore how twist in singles yarns influences stockinette
stitch, reverse stockinette stitch, garter stitch, and seed stitch. We will cover twist direction, twist
magnitude, and knitting needle size.
Bring your
spinning wheel, 2 bobbins, some fiber to spin (or I can provide, $3 per ounce),
and knitting needles in a few different sizes.
Wednesday,
February 6, 2013 (yes, the same day as Part 1)
3:00 –
5:00pm
Spinning & Knitting Energized Singles,
Part 2: In part 2 of this workshop,
we will explore how energized singles behave when you combine different stitch
patterns. Resulting knit fabrics will
display a delightful variety of textures, some 2-dimensional, and some
3-dimensional.
Bring your
spinning wheel, 2 bobbins, some fiber to spin (or I can provide, $3 per ounce),
and knitting needles in a few different sizes.
Thursday,
February 7, 2013
1:00 –
3:00pm
Shaping With Stitch Patterns, Part 1: Many knitted pieces, such as a sweater,
require shaping. Most often, that
shaping is accomplished by increasing and decreasing the number of stitches you
are using. In this workshop, we will
cover how to shape the structure of a knitted piece by selecting the right
stitch patterns. In part 1, we will
cover how ribs, welts, and pleats pull in and pull up fabric. In the process, we will discuss the
importance of both stitch gauge and row gauge, and techniques of blocking your
knitting.
Bring 100-200
yards of yarn, knitting needles appropriate for the yarn. I suggest sport to worsted weight wool yarn
in a solid, light color.
Wednesday,
February 13, 2013
1:00 – 3:00pm
(maybe a bit longer)
Seams to Be: In this workshop we will practice a variety
of ways to seam knitted pieces together for the best results. We will explore side and shoulder seams,
invisible and decorative seams, and seams that are flat and tidy on both sides
of the knitted fabric. In the process,
we will also cover strategies for creating knitted edges that make seaming
easier and more refined.
Bring 2
swatches using the same yarn, both 20 sts wide and 40 rows long in st st,
leaving the last row live and placed on stitch holders. 100-200 additional yards of the yarn,
knitting needles appropriate for the yarn, and a darning needle. I suggest using a solid, light colored yarn
so that the stitches are easier to see.
Thursday,
February 14, 2013
1:00 –
3:00pm
Shaping With Stitch Patterns, Part 2: In part 2 of this workshop, we will explore
stitch patterns that not only influence stitch and row gauge, but also
influence the elasticity of knitted fabrics.
Bring 100-200
yards of yarn, knitting needles appropriate for the yarn, and a cable needle. I suggest sport to worsted weight wool yarn
in a solid, light color.
Wednesday, February
20, 2013
2:30 – 4:30pm
Shaping With Stitch Patterns, Part 3: In part 3 of this workshop, we will explore
stitch patterns that bias and stitch patterns that curl in a diagonal
direction. We will discuss why they
behave this way, and how to use them as a design feature.
Bring 100-200
yards of yarn, knitting needles appropriate for the yarn. I suggest sport to worsted weight wool yarn
in a solid, light color.
Wednesday,
February 27, 2013
2:30 –
4:30pm
Surprising Knit Maneuvers: In this workshop, we will swatch some stitch
patterns that you’ve likely never seen before.
They involve lengthy-to-describe yet easy-to-perform maneuvers with your
needles. And they result in intriguing
fabrics that will inspire!
Bring 100-200
yards of yarn, knitting needles appropriate for the yarn. I suggest sport to worsted weight wool yarn
in a solid, light color.